
White labeling
White labeling lets you tailor your TBMQ instance to match your brand — particularly useful for companies delivering IoT solutions to their customers. Configure your company name, upload your logo, and choose color palettes.
The White labeling page has three tabs: General for the management UI, Login for the login page, and Image gallery for the logo and icon assets both tabs draw from. Editing these settings requires the Administrator role — a Viewer sees them read-only.
Customize TBMQ web interface
Section titled “Customize TBMQ web interface”To configure your logo and color scheme, go to the White labeling page and open the General tab.
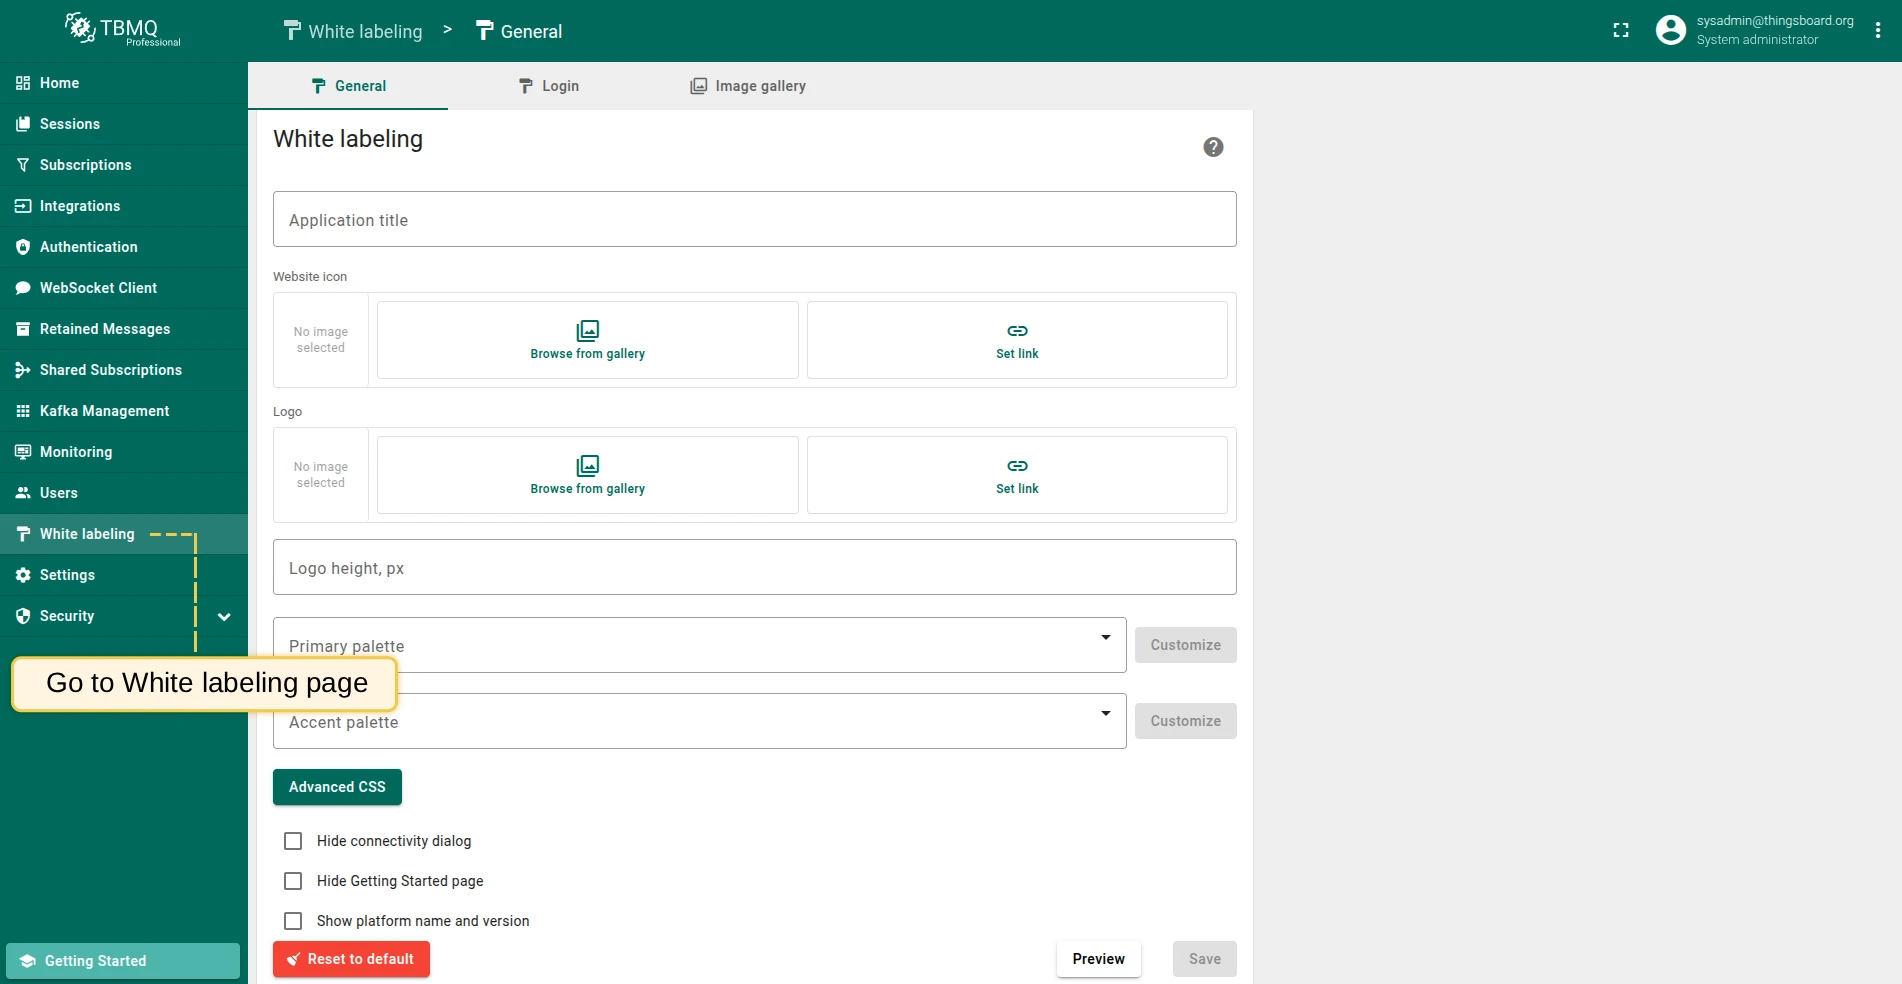
The tab provides the following settings:
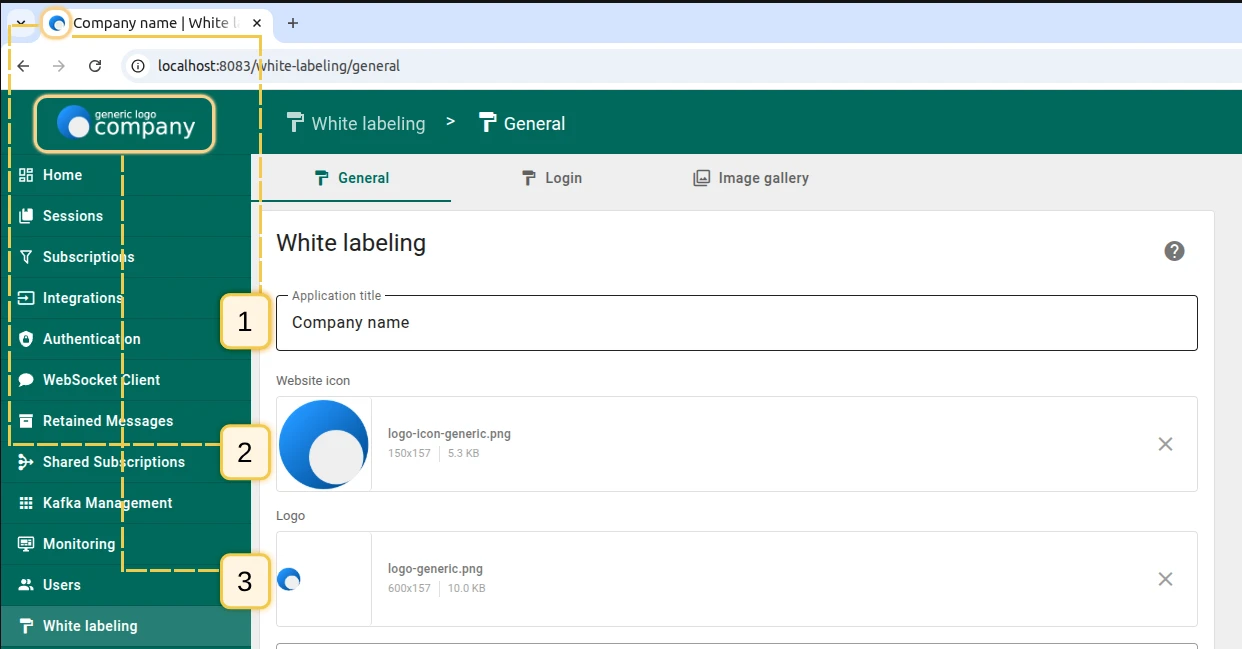
- Application title — custom page title displayed in the browser tab. Up to 255 characters.
- Website icon — replace the default browser tab icon with your own.
- Logo — replace the default logo in the upper left corner with your company logo.
- Logo height, px — resize the logo.
For the Website icon and Logo, either Browse from gallery to pick an asset from the Image gallery — so the same file can be reused and updated in one place — or Set link to reference an external image URL.
- Primary palette — customize the background and font colors by selecting a suggested UI design or modifying an existing one.
- Accent palette — customize the color for elements such as toggles.

- Advanced CSS — apply custom CSS to any element of the TBMQ interface. See Advanced CSS below.
- Hide connectivity dialog and Hide Getting Started page — hide the check-connectivity dialog and the Getting Started page.
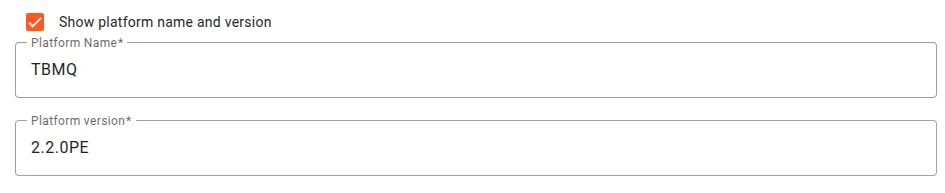
- Show platform name and version — when enabled, reveals the required Platform Name and Platform version fields
(defaulting to
TBMQand the current broker version) and displays their values in the lower left corner.
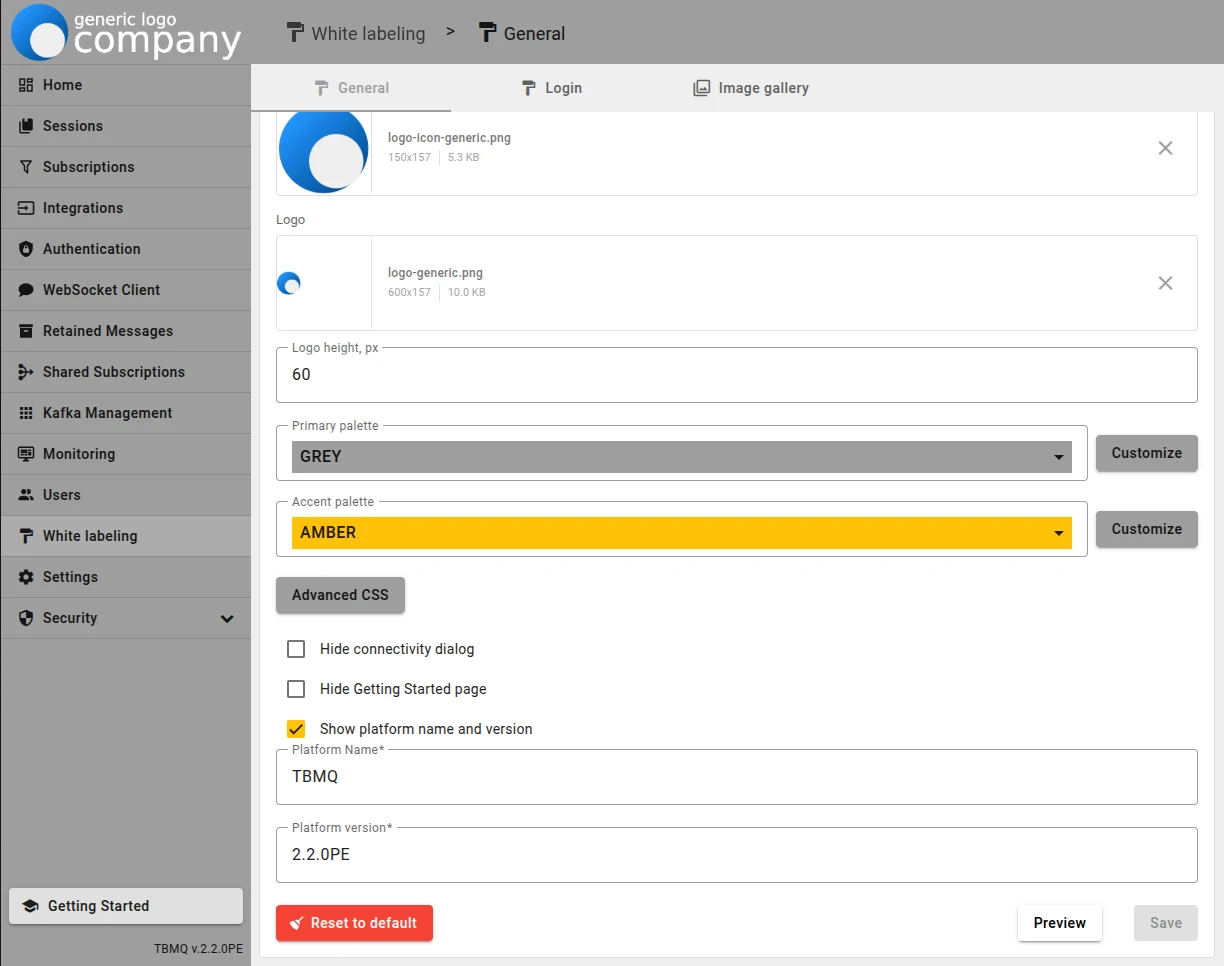
Use Preview to try the result before saving, and Reset to default to discard all customizations. The customized interface:
Advanced CSS
Section titled “Advanced CSS”Use CSS to stylize any element of the TBMQ interface — backgrounds, icons, fonts, and more.
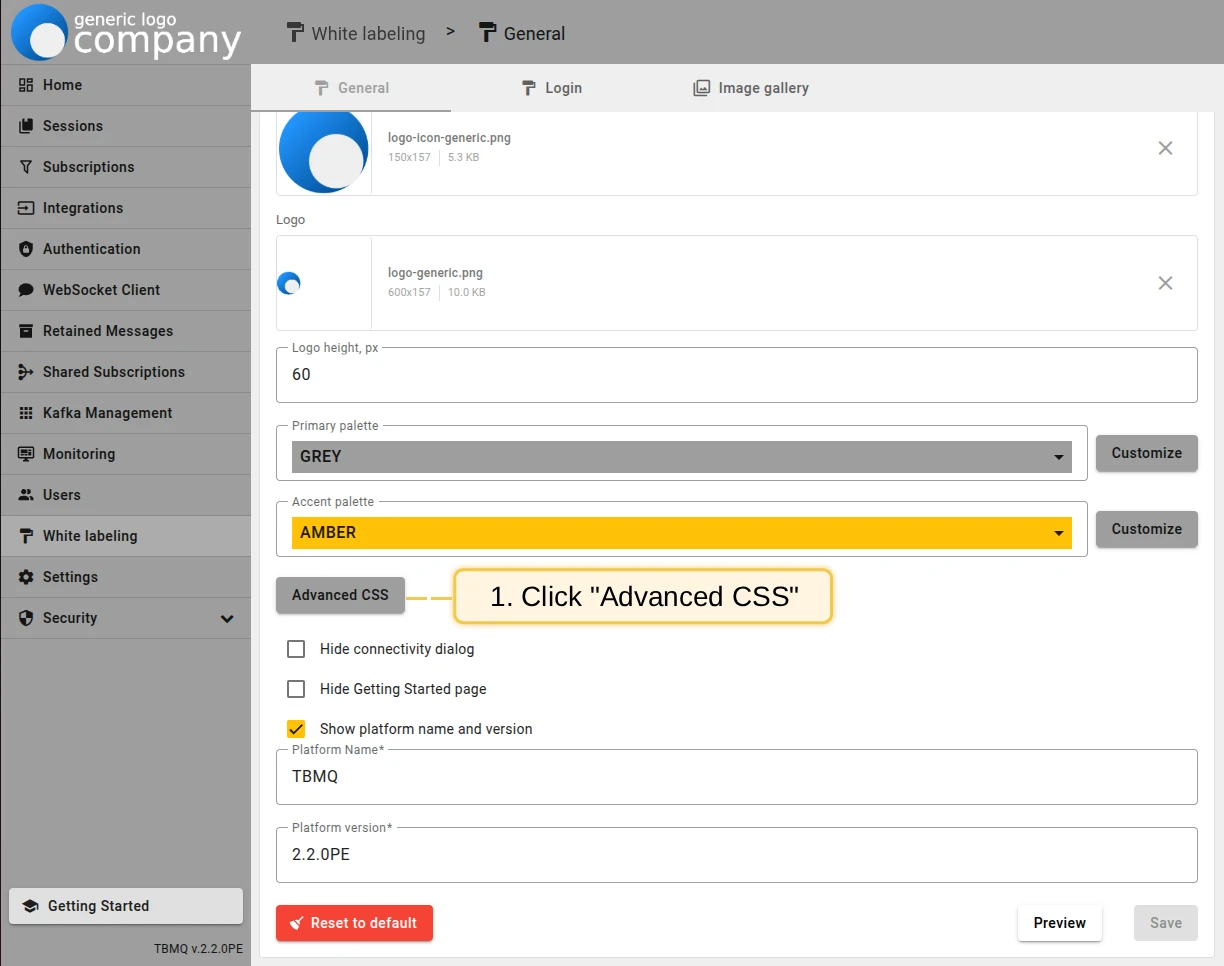
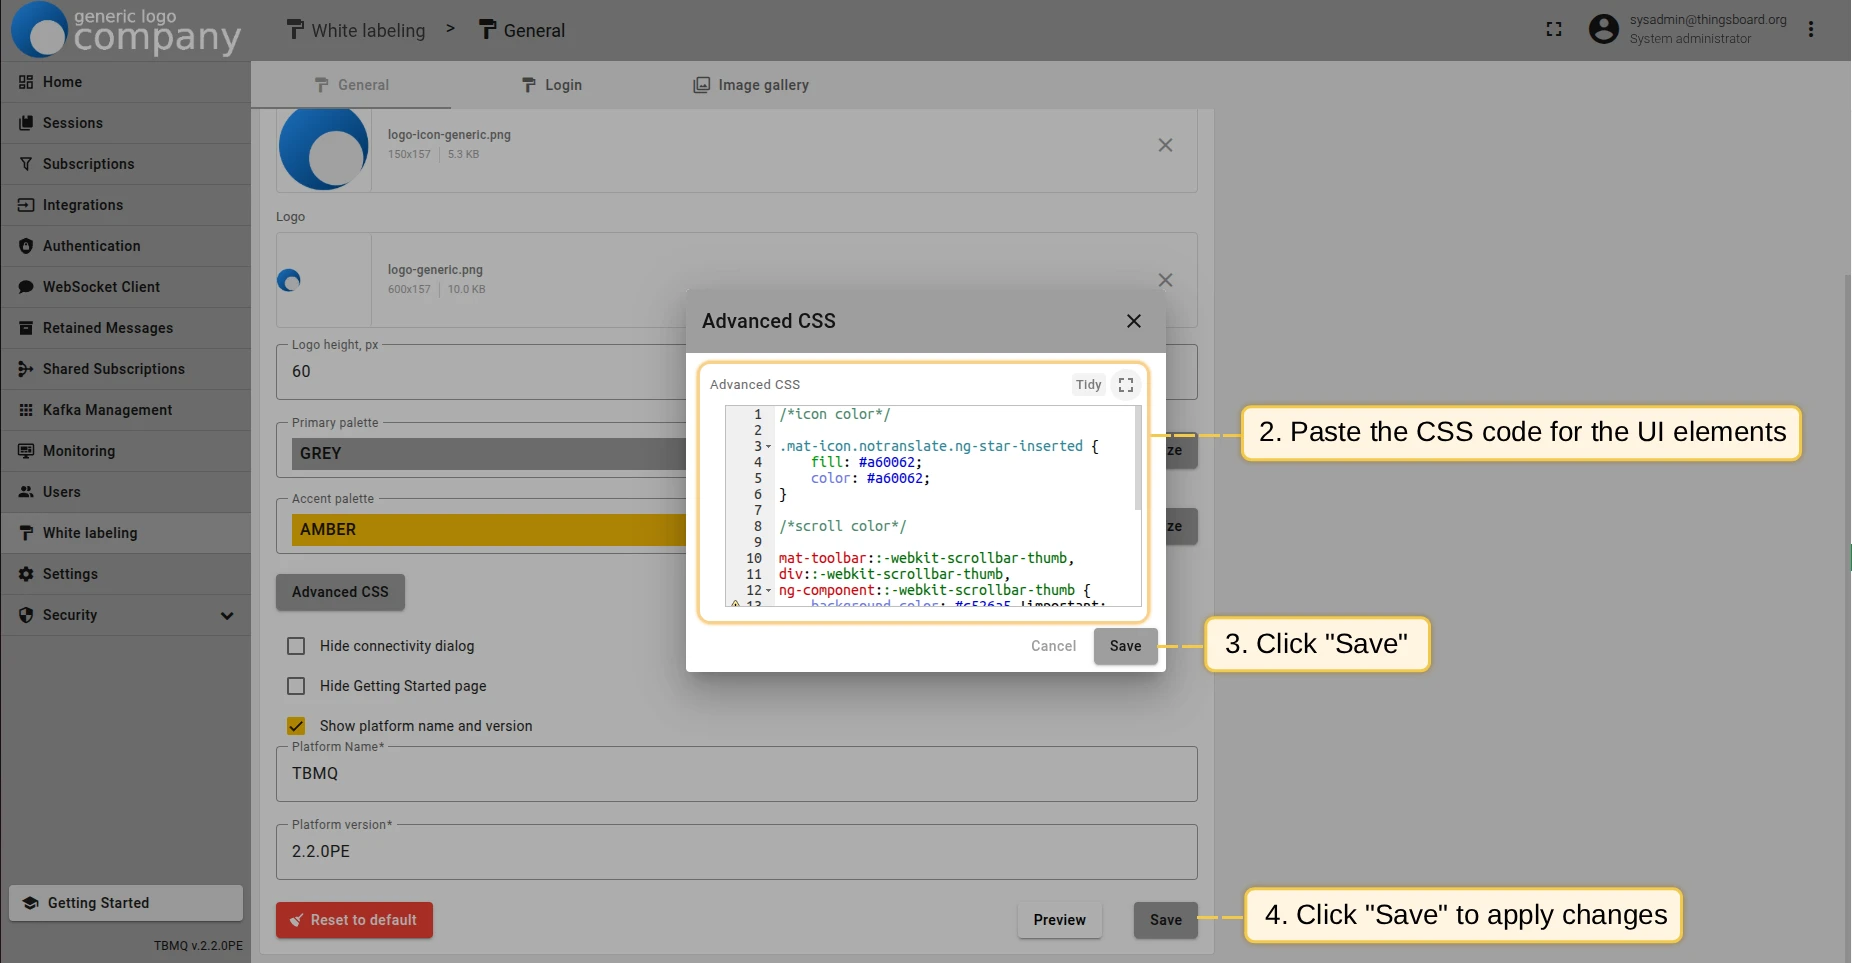
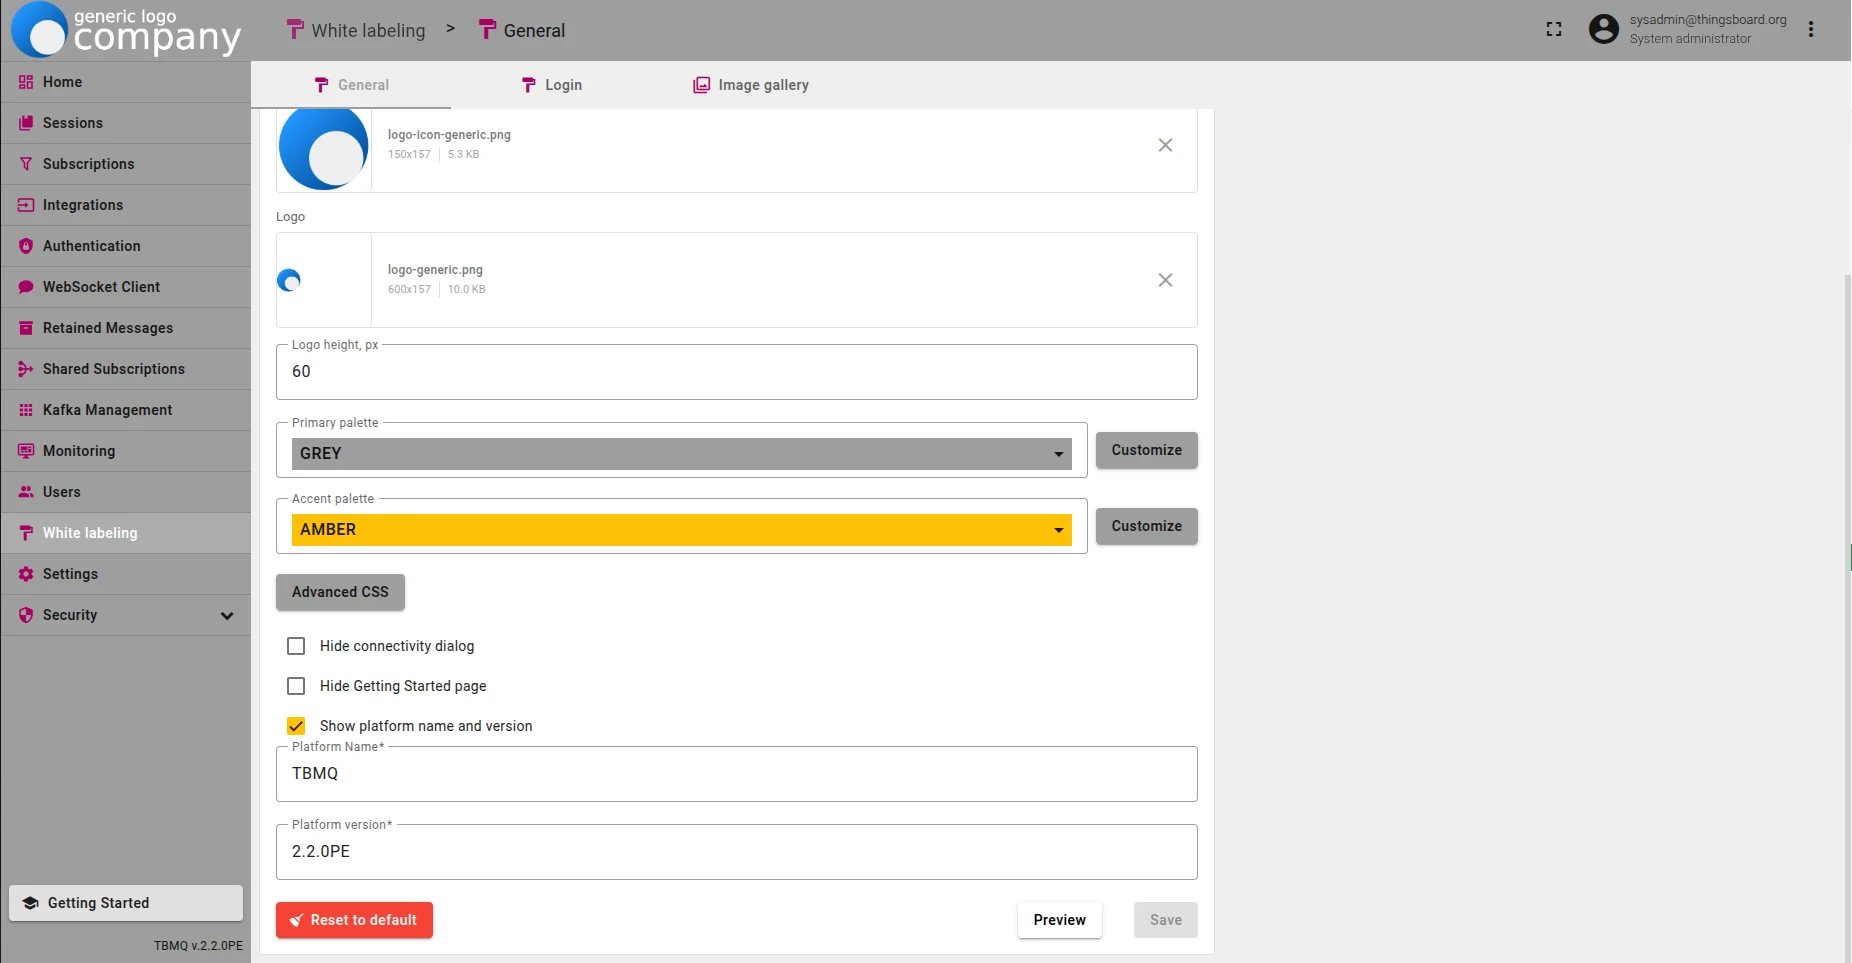
Example — customize icon color, scrollbar color, and active button color:
/* Icon color */a.mat-mdc-button.mat-mdc-button-base .mat-icon {    color: #a60062;}
/* Scrollbar color */mat-toolbar::-webkit-scrollbar-thumb,div::-webkit-scrollbar-thumb,ng-component::-webkit-scrollbar-thumb {    background-color: #c526a5 !important;    background-image: linear-gradient(#e72c83, #a742c6);    border-radius: 200px/300px !important;    border: 0.1rem linear-gradient(#e72c83, #a742c6);}
/* Active button color */.mat-mdc-button.mat-mdc-button-base.tb-active {    color: #a60062;}
Customize the login page
Section titled “Customize the login page”On the Login tab, configure the TBMQ login page:
- Domain name — select an already registered domain or create a new one inline. For details, see Domain registration.
- Base URL — the absolute URL of the instance, used in generated links. Prefilled from the selected domain, for example
https://mqtt.mycompany.com. - Prohibit to use hostname from the client request headers — enable this in production, so the broker uses the configured Base URL instead of trusting the request headers.
- Application title, Website icon, and Logo — the same branding fields as on the General tab.
- Primary palette and Accent palette — the login page color scheme.
- Dark foreground — switch the login form text and icons to dark, for use with a light background.
- Page background color — the color behind the login form.
- Show platform name and version — as on the General tab, plus Platform name and version position, which places the values either under the logo or at the bottom of the login form.
Once done, save the changes.


Use your custom domain to access the TBMQ login page and verify the result.

Was this helpful?